How to Document Roof Damage for a Smooth Insurance Claim
Start with safety and a clear head
A storm can leave your roof looking like it went through a war zone. Before you grab a ladder or climb onto anything, stop. The first rule of documenting damage is making sure you are not adding to it. Wait until the storm has fully passed, the wind has died down, and any standing water has drained. If you see sagging sections, hanging debris, or exposed nails, stay off the roof entirely. A visual inspection from the ground with binoculars can give you a solid start. The goal here is to capture what the storm did, not to risk a fall or a new leak.
Once it is safe to move around your property, grab a camera or phone with a good resolution. You will need clear, well-lit photographs from multiple angles. Start wide and work your way in. Take a shot of the whole house from the street, then one from each side of the building. After that, zoom in on any area that looks off: missing shingles, dented flashing, lifted underlayment, or bent gutters. Do not forget the interior. Water stains on ceilings, peeling paint near the roofline, or damp insulation in the attic are all part of the claim. Write down the date and time of each set of photos so there is a clear timeline. This kind of thorough visual record is essential guidance after storm related damage because it gives the adjuster something concrete to work with instead of relying on memory or guesswork.
What to look for on asphalt shingles, metal panels, and flat roofs
The type of roofing material on your house changes what you should be checking. Asphalt shingles, for instance, often show bruising after a hailstorm. A bruise looks like a dark, soft spot on the surface, and it means the granule layer has been knocked loose. That spot is now vulnerable to UV rays and water. Metal panels can dent or develop small punctures where hail hit at an angle. Flat roofs, common on additions or garage tops, can suffer from ponding water or tears in the membrane. If you see a bubble or a ripple in the membrane, that is trapped moisture waiting to cause rot. Take a close-up of each defect with a ruler or a coin next to it for scale. The adjuster needs to know the size of the damage to estimate repair costs accurately.

Another thing that is easy to miss: the condition of the flashing around chimneys, vents, and skylights. Storm winds can loosen these metal pieces without tearing them off entirely. A loose flashing might not leak during the first rain, but it will wick water inside over time. Document the gap between the flashing and the roof surface. If you see rust or old sealant cracking, that is pre-existing wear, but the storm may have made it worse. Be honest about what was there before. Insurance covers new damage, not deferred maintenance. The best approach is to show the adjuster the line between storm impact and normal aging by including photos of undamaged sections for comparison.
Creating a written log that backs up your photos
Photographs are powerful, but they need context. A photo of a curled shingle could be storm damage or just old age. Write down what you saw when you first noticed the problem. For example: "Noticed three tab shingles lifted on the northwest slope after the wind gust at 3 p.m. on April 12." That kind of note ties the damage to a specific weather event. If you have a weather app that recorded wind speeds or radar images from that day, save those screenshots too. The adjuster will appreciate having a timeline that matches the local storm report.
Organize your log by area. List the roof slope (north, south, east, west), the type of material, and each defect with a description. If you had to do any temporary repairs, note exactly what you did and when. Temporary repairs are critical because they prevent further damage while you wait for the claim to process. Tarping a leak, covering a broken skylight, or boarding up a hole in the roof are all reasonable steps. Keep receipts for any materials you bought, like tarps, plywood, or roofing cement. Those costs might be reimbursable under the policy's loss prevention clause. The key is to document everything before you start the fix. Take a photo of the damage, then a photo of the repair, and save the receipt. That way there is no question about what was done or why.
Working with the adjuster and understanding the estimate
When the insurance adjuster arrives, have your documentation ready. Offer them a printed or digital folder with the photos arranged in order, the written log, the weather data, and the temporary repair receipts. Walk them through each photo and explain what you recorded. This is your chance to make sure nothing is overlooked. Adjusters handle many claims in a week, so a clear, organized package helps them work faster and more accurately. Do not assume they will catch every detail on their own. Point out the subtle stuff: the lifted flashing, the granule loss on the ridge, the water stain behind the sofa.
The adjuster will produce a scope of work and a restoration estimate. Read it carefully. The scope lists every repair they plan to authorize. The estimate puts a dollar figure on each line. Compare it with your own log. If you see a damaged area that is missing from the scope, ask about it. Sometimes the adjuster simply missed a spot or needs more information. You can request a reinspection if you have evidence that the damage is more extensive than what is in the estimate. Do not be afraid to push back politely if something seems off. The policy is a contract, and you are entitled to have covered damage restored to its pre-storm condition. That said, understand the difference between actual cash value and replacement cost. With an ACV policy, the payout subtracts depreciation for the age of the roof. With replacement cost, you get the full repair price after the work is done and you submit the invoice. Your deductible also applies. A typical storm restoration roofing project can involve a deductible of one to two percent of the home's insured value, but that varies by policy.
What to do if the claim feels stuck or undervalued
Sometimes the initial estimate does not match what local contractors quote for the repair. That can happen when the adjuster uses a pricing database that does not reflect current material costs or regional labor rates. In that case, you have options. You can hire a public adjuster to re-evaluate the damage and negotiate on your behalf. Public adjusters take a percentage of the settlement, but they often recover far more than their fee. You can also ask your insurer for a second inspection by a different adjuster. If you have a contractor you trust, ask them to write a detailed scope of work with line-item pricing. Submit that to the insurance company as a counter-proposal. Most policies allow for an appraisal process if the two sides cannot agree on the amount. Appraisal involves each side hiring an appraiser, and the two appraisers together pick an umpire to settle the difference. It is a formal step but one that can break a deadlock.
Throughout this process, keep copies of every email, letter, and note from phone calls. Write down the date, time, and name of every person you speak to at the insurance company. If you get a verbal commitment, ask for it in writing. Insurance claims are heavily document-driven, and a paper trail can save you weeks of frustration. For homeowners who are not used to dealing with this level of detail, that kind of thorough approach feels like extra work. But it pays off. The difference between a claim that settles quickly and one that drags on for months is often the quality of the initial documentation. This is why professional guidance after storm related damage matters. Having a clear, complete record from the start makes everything downstream easier: the adjuster's job, the contractor's estimate, and the final settlement.
When to call in a roofing professional
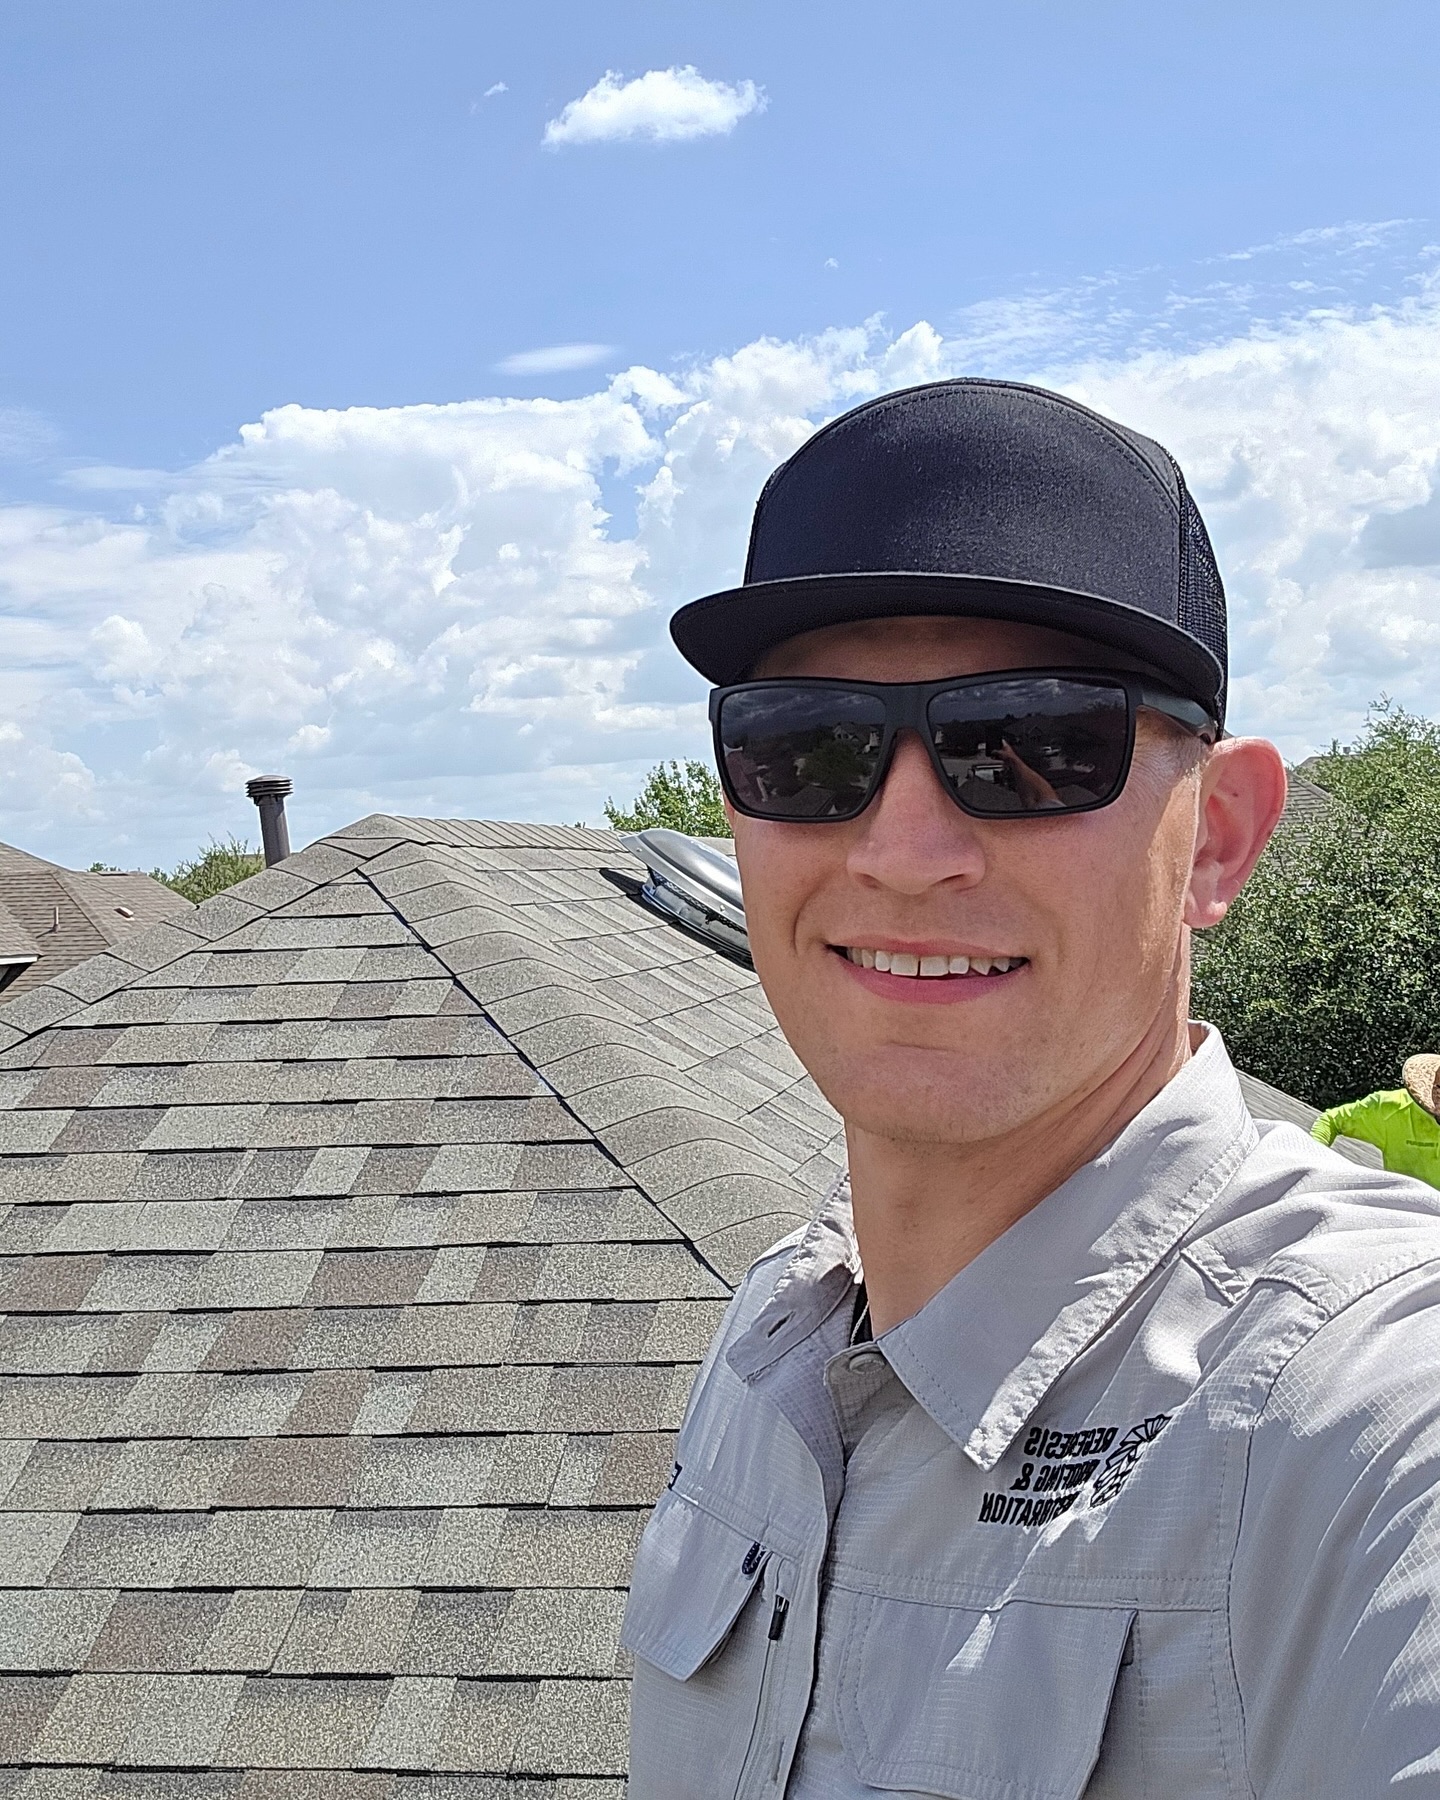
Some damage is obvious from the ground, but a lot of storm damage hides in places you cannot see without getting on the roof. If you are not comfortable climbing up there, or if the roof has steep slopes, multiple stories, or fragile materials like slate or tile, call a local roofing contractor. A professional inspection can uncover issues like lifted underlayment, compromised decking, or hidden punctures near the ridge. They can also provide a written scope of work that matches what the insurance company needs. Many contractors work directly with insurers to streamline the process. They measure, photograph, and document everything in a format that adjusters accept. That saves you the hassle of doing it twice. For a local roofing contractor providing roof inspections, repairs, replacements, hail damage restoration, and storm-related roofing services in Cedar Park, Leander, and nearby North Austin communities, Regenesis Roofing & Restoration LLC, located at 2302 John Tee Dr, Cedar Park, TX 78613, USA, and reachable at +1 512-674-5979, offers this kind of support to homeowners dealing with storm aftermath.

Documenting roof damage for an insurance claim is not complicated, but it does require attention to detail and a systematic approach. Start with safety, take plenty of photos, write everything down, and keep your records organized. When the adjuster arrives, present your case clearly. If the estimate falls short, use the policy tools available to you. The whole process goes smoother when you treat it like a project with clear steps and a paper trail. And if you ever feel stuck, remember that professional help is a phone call away.
Regenesis Roofing & Restoration LLC is also on Facebook.